
Share this
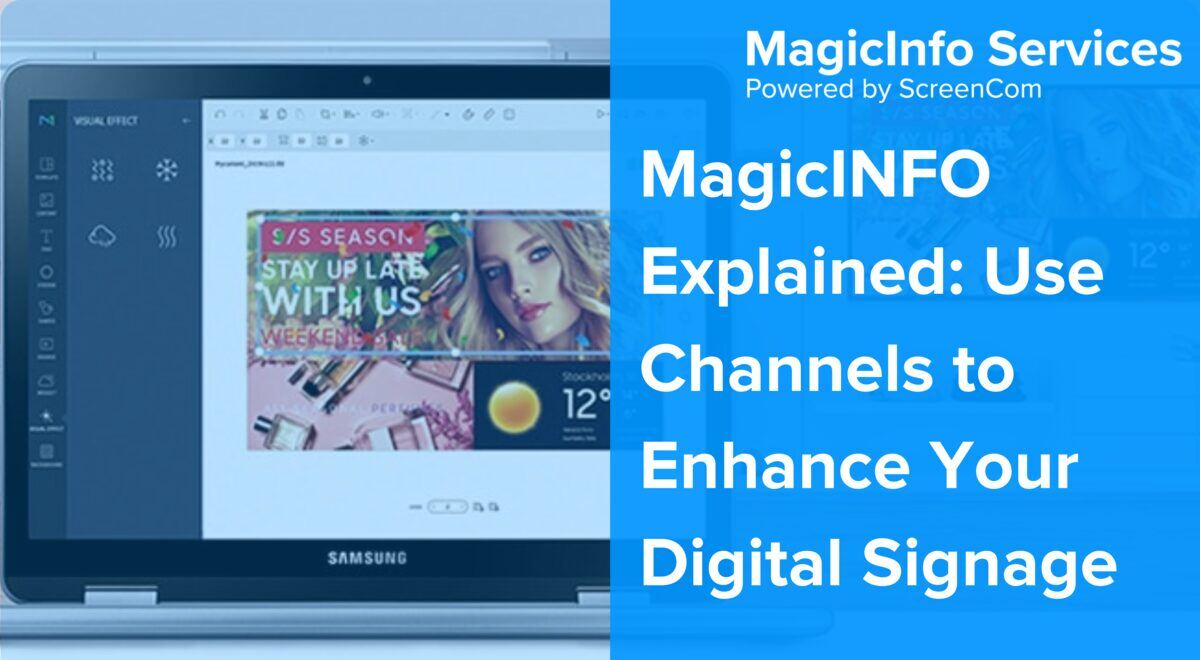
MagicINFO Explained: Use Channels to Enhance Your Digital Signage
Catering to different audiences at various times of the day is one of the most common requests among customers looking for a digital signage solution. Those using MagicINFO are able to do this using a simple, yet powerful feature: channels.
In this article, we will walk you through everything you need to know about creating different channels, all managed seamlessly through MagicINFO. From setting them up to adding content items, you will learn how to use this feature like a pro.
Let's dive in.
- What Is a Channel in MagicINFO?
- 3 Reasons Why You Should Use Channels in MagicINFO
- How to Create a New Channel
- Tips for Managing Different Channels using MagicINFO
- Frequently Asked Questions
What Is a Channel in MagicINFO?
MagicINFO offers many scheduling options that ensure your content delivery is spot on. For instance, using different schedules for your screens helps set different publishing dates and times and choose between your playlists and content items. Much like orchestrating train schedules, you must ensure everything runs on time.
Channels are another option to add to the list of useful features when creating a strategy for your digital signs. Although rarely used, this feature is essential to master in MagicINFO.
3 Reasons Why You Should Use Channels in MagicINFO
Channels might seem like a simple tool, but in MagicINFO, they are key to making your digital signage both organised and impactful. Wondering why they are so valuable? Let's break it down.
1. Manual Content Switching
With channels, you also gain the flexibility to manually switch content, not just rely on automated scheduling. This feature is particularly useful in scenarios where automation does not fit the bill—sometimes, real-time decisions are necessary.
2. Empowering Local Control
They enable local offices or locations to have more control over their displays, by allowing them to switch channels to showcase their content. This decentralised approach puts the power in the hands of those who interact directly with the audience, instead of relying solely on the designated content manager in your organisation.
3. Enhanced Emergency Response
Using API calls, channels can be set to display emergency messages quickly and effectively. For example, in critical situations, like a fire, the system can automatically tell the screens to switch to a channel that shows emergency routes and safety instructions, ensuring crucial information is delivered when it matters most.
How to Create a New Channel and Add Content to It
Creating a channel in MagicINFO is straightforward, even if you are brand new to digital signage. Let’s walk through the steps to get your first one up and running.
Step 1: Log into MagicINFO
Start by accessing your MagicINFO account. Once logged in, you will be on the main dashboard, your central command centre for all content management activities.
Step 2: Navigate to the "Schedule" Tab
Click on the Schedule tab located at the top of your screen. This is your gateway to managing all scheduling for your digital signage.
Step 3: Create a New Channel
Select 'New Schedule and Content' within the Schedule tab to set up a new channel. This process is designed to be user-friendly, guiding you smoothly through each step.
Step 4: Add Your Content
Drag and drop the content from the media library to your schedule. Arrange the content according to when and how you want it displayed.
Step 5: Set Playback Options
After placing your content in the schedule, click on it to set playback dates and times, tailoring when each item will be shown.
Step 6: Save and Publish
Once you are satisfied with the setup, click 'Save'. You will then be able to name your schedule, assign it to a group and choose the screens for display. Use the Description field for any notes that might help other users.
Step 7: Review and Adjust
Review your entire schedule to ensure everything is set up correctly. You can edit each channel as needed to keep your content fresh and relevant.
For more detailed instructions, check out this knowledge-base article on how to use different channels.
Want more tips and tricks? Check out our YouTube channel, where we regularly share videos to help you get the most out of MagicINFO.
Tips for Managing Different Channels using MagicINFO
Setting them up is only the beginning; the real MagicINFO magic comes from effectively managing your digital signage. To ensure your signs remain fresh and impactful, here are a few practical tips to help you keep your content vibrant and engaging.
1. Regularly Update Content
Ensure your digital signs remain engaging by frequently updating the visuals displayed across various channels. Fresh, relevant ones keep the audience interested and can drive better engagement rates.
2. Use Tailored Content to Target Different Audiences
Adjust the content on each channel to better suit the demographics and interests of its specific audience. Personalising them in this way can significantly enhance engagement and viewer satisfaction.
3. Schedule Strategically
Optimise your digital signs’ impact by scheduling items during peak viewing times. Consider the time zones to ensure maximum engagement if your signage reaches an international audience.
4. Utilise Remote Control Options
Leverage MagicINFO's remote control capabilities to make quick, on-the-fly adjustments to your channels. This flexibility is particularly valuable for urgent updates and time-sensitive information.
Conclusion
In this article, we have walked through using MagicINFO channels to enhance your digital signs. From creating tailored content that speaks directly to each segment of your audience to managing emergencies with swift precision, they are much more than a tool—they are a game-changer.
As you learn what MagicINFO can offer, remember that the true power lies in your hands. The art of digital signage is not just in displaying content, but in the smart, responsive way you curate and adapt it. So keep your signs fresh, engage deeply with your audiences, and remember—the flexibility and impact of your signage are yours to maximise.
Frequently Asked Questions
MagicINFO enhances audience engagement by allowing users to tailor content specifically to different audience segments. One way you can do this is by using channels. This targeted approach ensures that content is relevant and engaging, maximising viewer interaction and satisfaction.
Using channels in MagicINFO provides flexibility in content management, allowing for specific scheduling and targeting of different viewer demographics. This leads to more effective communication, better audience engagement, and improved emergency response capabilities.
MagicINFO allows for real-time updates and quick content switching through channels, which is critical during emergencies. This capability ensures that vital information, such as safety instructions and evacuation routes, is broadcast immediately and clearly to help manage the situation effectively.
Share this
- Signage strategy (72)
- Content management (51)
- Solutions (44)
- Content creation (41)
- Device management (31)
- Content automation (29)
- Hardware (28)
- Getting started (27)
- Server management (25)
- MagicINFO Explained (23)
- Software (18)
- Security (14)
- Blog Post (12)
- Company and services (9)
- Content design (9)
- User management (6)
- Innovations in digital signage (5)
- Data management (4)
- Digital Signage Strategy (3)
- MagicINFO Cloud (3)
- Government (2)
- LATEST (2)
- MagicINFO Migration (2)
- AI (1)
- Consumer Experience in retail (1)
- Content Starting Package (1)
- Digital Signage in Retail (1)
- ISE (1)
- LOOKBEYOND Topics (1)
- Managing Digital Signage (1)
- Sustainability (1)
- juli 2026 (1)
- juni 2026 (1)
- april 2026 (1)
- februari 2026 (1)
- januari 2026 (1)
- november 2025 (1)
- oktober 2025 (1)
- juni 2025 (2)
- mei 2025 (3)
- april 2025 (2)
- maart 2025 (1)
- februari 2025 (4)
- januari 2025 (1)
- november 2024 (1)
- oktober 2024 (2)
- september 2024 (1)
- augustus 2024 (2)
- juli 2024 (3)
- juni 2024 (3)
- mei 2024 (6)
- april 2024 (4)
- maart 2024 (5)
- februari 2024 (3)
- januari 2024 (4)
- december 2023 (4)
- november 2023 (4)
- oktober 2023 (5)
- september 2023 (3)
- juli 2023 (5)
- juni 2023 (8)
- mei 2023 (9)
- april 2023 (8)
- maart 2023 (9)
- februari 2023 (7)
- januari 2023 (8)
- december 2022 (5)
- november 2022 (7)
- oktober 2022 (9)
- september 2022 (6)
- augustus 2022 (8)
- juli 2022 (6)
- juni 2022 (6)
- mei 2022 (7)
- april 2022 (2)
- maart 2022 (3)
- februari 2022 (1)
- januari 2022 (4)
- december 2021 (2)
- november 2021 (4)
- oktober 2021 (4)
- september 2021 (6)
- augustus 2021 (3)
- juli 2021 (6)
- juni 2021 (3)
- mei 2021 (3)
- april 2021 (3)
- maart 2021 (4)
- februari 2021 (3)
- januari 2021 (3)
- december 2020 (4)
- november 2020 (3)
- oktober 2020 (2)
- september 2020 (3)
- augustus 2020 (2)
- juli 2020 (3)
- juni 2020 (3)
- mei 2020 (1)
- april 2020 (4)
- maart 2020 (3)
- februari 2020 (2)
- januari 2020 (3)
- december 2019 (2)
- oktober 2019 (2)
- september 2019 (1)
- juni 2019 (3)
- mei 2019 (1)
- april 2019 (1)
- maart 2019 (3)
No Comments Yet
Let us know what you think